Lens Correction
Lens Correction
For Rawstudio 2.0 we have integrated lens corrections through Lensfun, which enables automatic distortion correction and manual Vignetting and Chromatic Aberration correction.
We have chosen to have manual adjustment of vignetting and CA, since there isn’t any significant amount on data for this available.
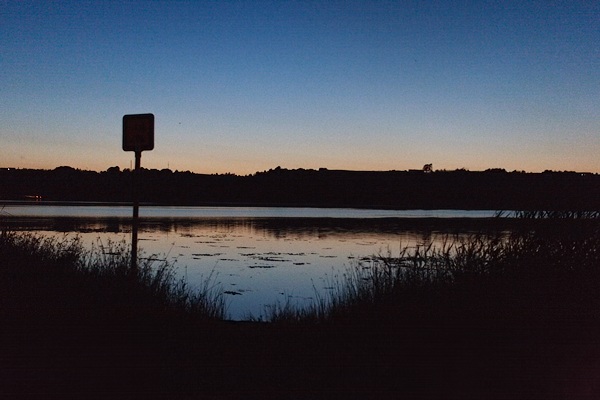
Image without distortion correction:

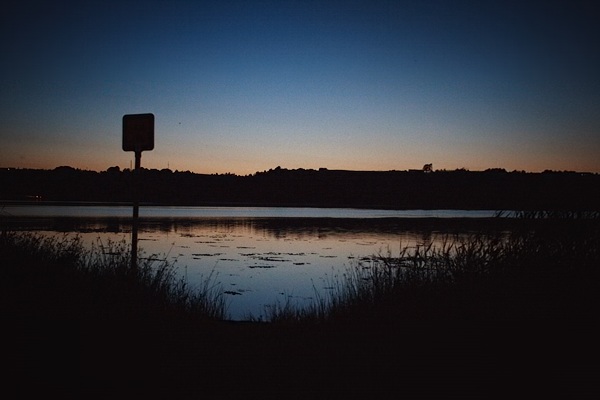
Image with distortion correction:
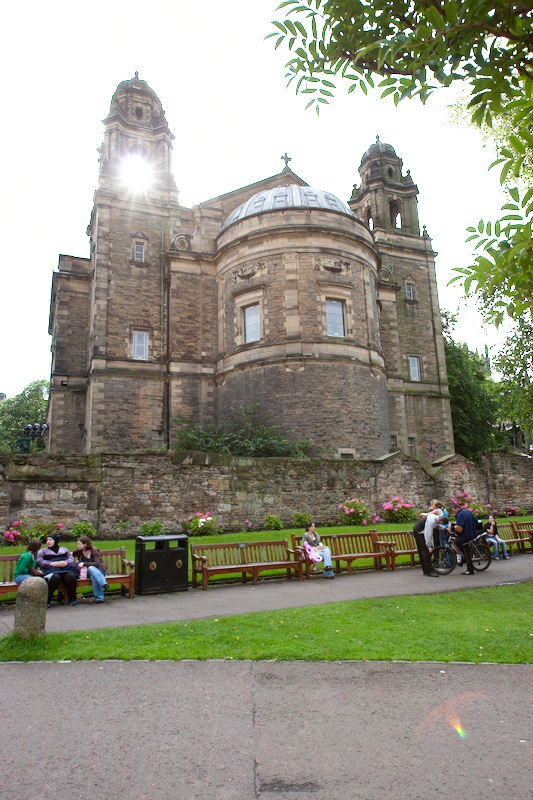
For this to work, you must match up each of your lenses with the ones in the Lensfun database. For Canon and Nikon, there is a good coverage of the different lenses, but you may have to do some yourself. There is a tutorial on the hugin website for this.
To quickly select a lense, there is a lens selection dialog, that allow you to select which lens you are using:
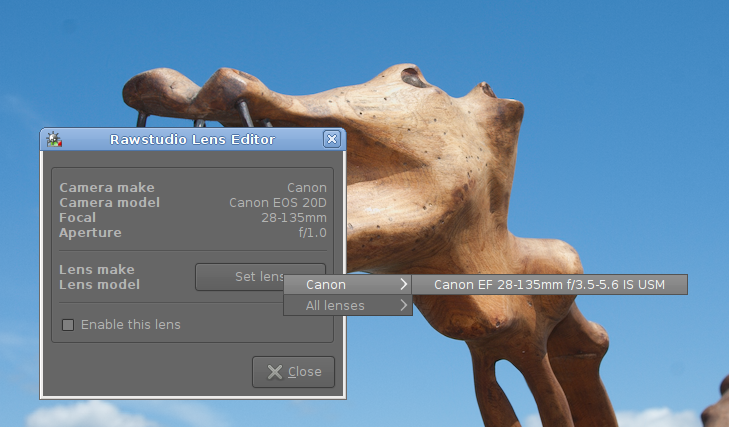
If you need to change the lens later, or assign several lenses there is a Lens Editor, that also allow you to select lenses and disable individual lenses:

There are some factors that need to be in place for you to be able to use this. The most important thing is that we need to know which lense is on the camera. Therefore we can only support cameras that store lense information – minimum+maximum focal length and minimum and maximum aperture. Furthermore we need to know at what focal length each image was shot. If we cannot read these, we cannot make automatic correction.
Vignetting & Chromatic Aberration
Vignetting correction is pretty basic. We have added a slider that enable you to remove, or even add vignetting to your images. The response curve is a pre-set one, but it should suit most needs, since we don’t think it is very productive to have several different sliders you individually have to finetune. Here is a small example of how the vignetting filter works:
The final Lens Correction function added is correction of Chromatic Aberration. Chromatic Aberration (or just short: CA) can give some ugly colors on large prints and zoomed in view. So you are able to correct the worst, by adjusting for it.
Here is a very bad example of CA, taken on a Canon EOS 20D using the kit lense:

Here is the same image, after applying CA correction:
Not perfect, but much less disturbing. Note that this is a 50% scale view of the image. Click the image to see the 100% view.

