Improvements: Resize, Lens Correction
Here we continue to look the technical improvements of Rawstudio 2.0. In part 1 we had a look at the structure and the first few automatic steps of processing the image. We now continue to look at the functions you as a user have more direct control over.
Rotate
The rotate filter remains basically the same, except that 90 and 180 degree turns have now a separate routine, that doesn’t interpolate the image. Furthermore the rotate filter is now multi-threaded and will utilize all available CPUs/cores.
Resampler
The resampler (also known as the resizer) has been completely re-written for Rawstudio 2.0. I will not use much time on describing the old resampler, but let’s just say – it was broken.
The new resampler has a proper FIR filter implementation, and now uses a Lanczos 3-tap kernel for resampling images. This provides a very crisp and clear images, when they are scaled down.
We can easy provide other resample kernels, but we have no plans for that at the moment.
The filter is fully multi-threaded, the vertical resampler is SSE2 optimized. There is a special edition for 64 bit systems, that processes 24 pixel components per loop, the 32 bit does 8 components per loop.
Here are some samples of the impact of using different resamplers. Click on the images to open them in a new tab and switch between them to see the difference.
There is some discussion on whether images should be gamma corrected or not when resizing. My personal opinion is that it is a bit academic, mostly relevant to artificial material, but for those of you for whom this matters – rest assured, resampling is done in “gamma 1.0” space.
Lens Correction
For Rawstudio 2.0 we have integrated lens corrections through Lensfun, which enables automatic distortion correction and manual Vignetting and Chromatic Aberration correction.
We have chosen to have manual adjustment of vignetting and CA, since there isn’t any significant amount on data for this available. Technically most is done within Lensfun itself, but the processing inside Rawstudio is of course multi-threaded and written in SSE2.
I have submitted some SSE2 optimizations for Lensfun, which seem is be included in the next release. Here is an example of the distortion correction.
Image without distortion correction:
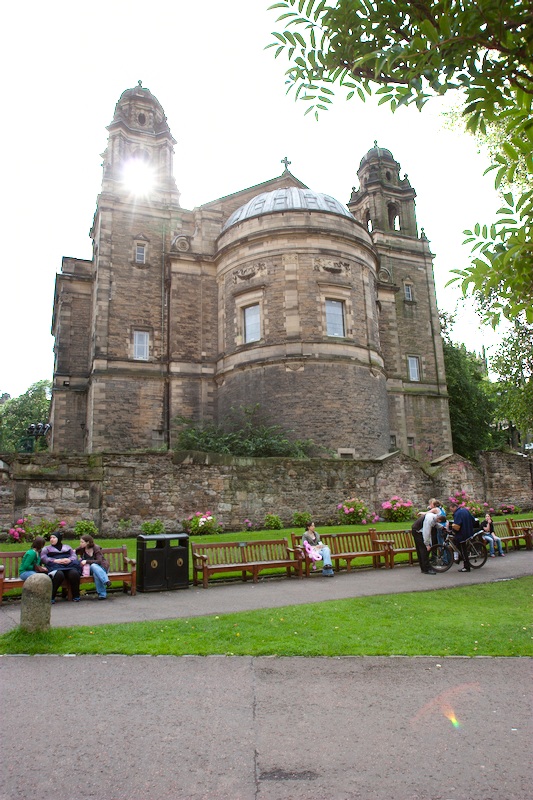
Image with distortion correction:
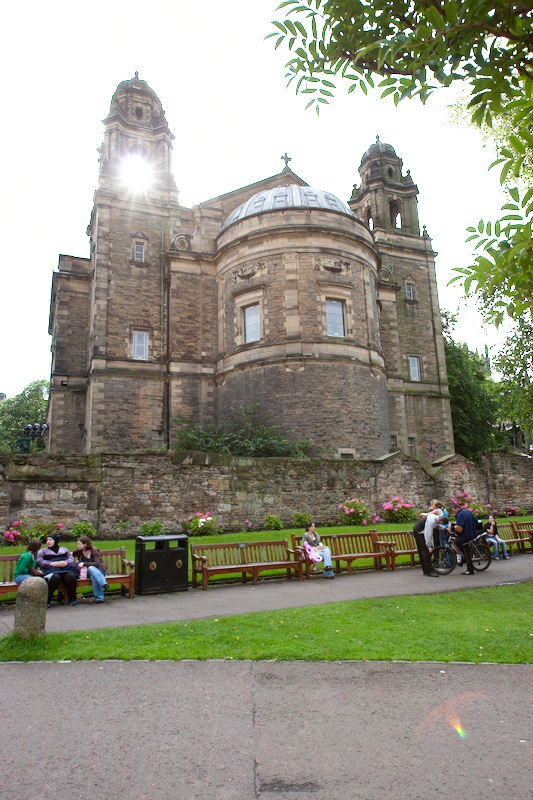
For this to work, you must match up each of your lenses with the ones in the Lensfun database. For Canon and Nikon, there is a good coverage of the different lenses, but you may have to do some yourself. There is a tutorial on the hugin website for this.
To quickly select a lense, there is a lens selection dialog, that allow you to select which lens you are using:
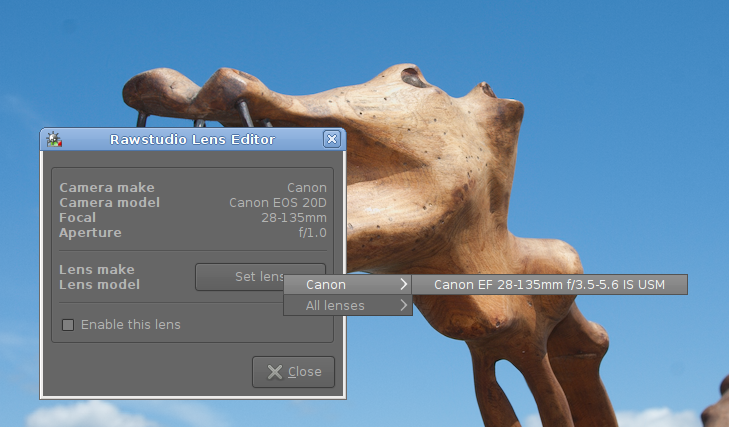
If you need to change the lens later, or assign several lenses there is a Lens Editor, that also allow you to select lenses and disable individual lenses:

There are some factors that need to be in place for you to be able to use this. The most important thing is that we need to know which lense is on the camera. Therefore we can only support cameras that store lense information – minimum+maximum focal length and minimum and maximum aperture. Furthermore we need to know at what focal length each image was shot. If we cannot read these, we cannot make automatic correction.
Vignetting & Chromatic Aberration
Vignetting correction is pretty basic. We have added a slider that enable you to remove, or even add vignetting to your images. The response curve is a pre-set one, but it should suit most needs, since we don’t think it is very productive to have several different sliders you individually have to finetune. Here is a small example of how the vignetting filter works:
The final Lens Correction function added is correction of Chromatic Aberration. Chromatic Aberration (or just short: CA) can give some ugly colors on large prints and zoomed in view. So you are able to correct the worst, by adjusting for it.
Here is a very bad example of CA, taken on a Canon EOS 20D using the kit lense:

Here is the same image, after applying CA correction:
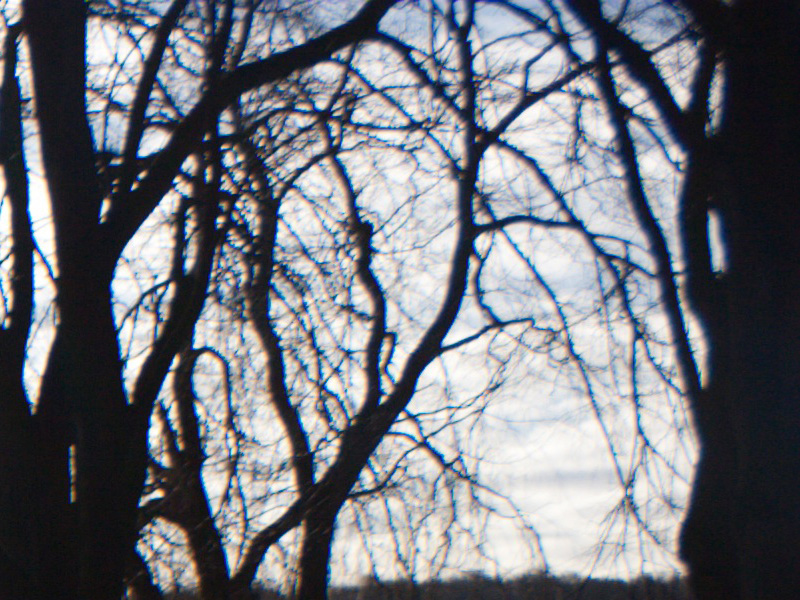
Not perfect, but much less disturbing. Note that this is a 50% scale view of the image. Click the image to see the 100% view.
In part 3
The next part will be dedicated to the reworked Sharpen and De-Noise filter. Stay tuned.



I hope that your improved resize functionality will take account of the fact that users may want to scale the image up rather than down. I do this now as a matter of routine, scaling to 200% before exporting to 8bit TIFF. This way I obtain an image with 4 times the data of the original, which I then work on in GIMP. I call it the “Linux man’s 16bits”. And I wonder if Cubic might not be the best method for this – at least it would be good to still have the option.
When using completely manual objective with no electronics whatsoever, the exif info fields for focal length and aperture will not contain any information. It would be nice if these values could be forced, so that optical equivalent (or even the real thing) could be used for corrections.
I tried the easy way, but it seems that modifying exif info in cr2 file is not that easy with current tools. Quick selections for predefined lenses (and values) would be nice as well.
Yes – that is currently not very easy, and we should improve that in the upcoming versions.